Brilix THP 120 Betriebsanweisung
Stöbern Sie online oder laden Sie Betriebsanweisung nach Wärmepumpen Brilix THP 120 herunter. Brilix THP 120 User guide Benutzerhandbuch
- Seite / 13
- Inhaltsverzeichnis
- FEHLERBEHEBUNG
- LESEZEICHEN
- SWIMMING POOL HEAT PUMP 1
- INSTALLATION 1
- USER GUIDE 1
- Contents 2
- I. Performance and properties 3
- II. System design 3
- III. Performance properties 4
- IV. Dimensions 5
- Warning: 6
- 6. 3 How to change the mode 9
- 6. 6 How to set the clock 10
- VII. Connection diagram 11
- VIII. Maintenance 12
- IX. Troubleshooting 12
- WARNING 13
Inhaltsverzeichnis
SWIMMING POOL HEAT PUMP(THP 55, THP 100, THP 120, THP 170)INSTALLATIONANDUSER GUIDEENiRead the instructions
106. 5 How to change parameter settings1. In the standby mode, use buttons to fi nd the parameter 0-A and the current measured valuesfor B-F
11VII. Connection diagramModels: THP 55, THP 100, THP 120, THP 170Power conductor cross-sectionsCode THP 55 THP 100 THP 120 THP 170Cross-section 1,5 m
12VIII. Maintenance• Check that the device water inlet is open. It is necessary to avoid low water and air fl ows into the device because they could w
13Conditions of guaranteeThe conditions of guarantee are governed by your supplier’s general conditions of trade and conditions of guarantee.Safe disp
2Contents I. Performance and properties ... 4II. System design ...
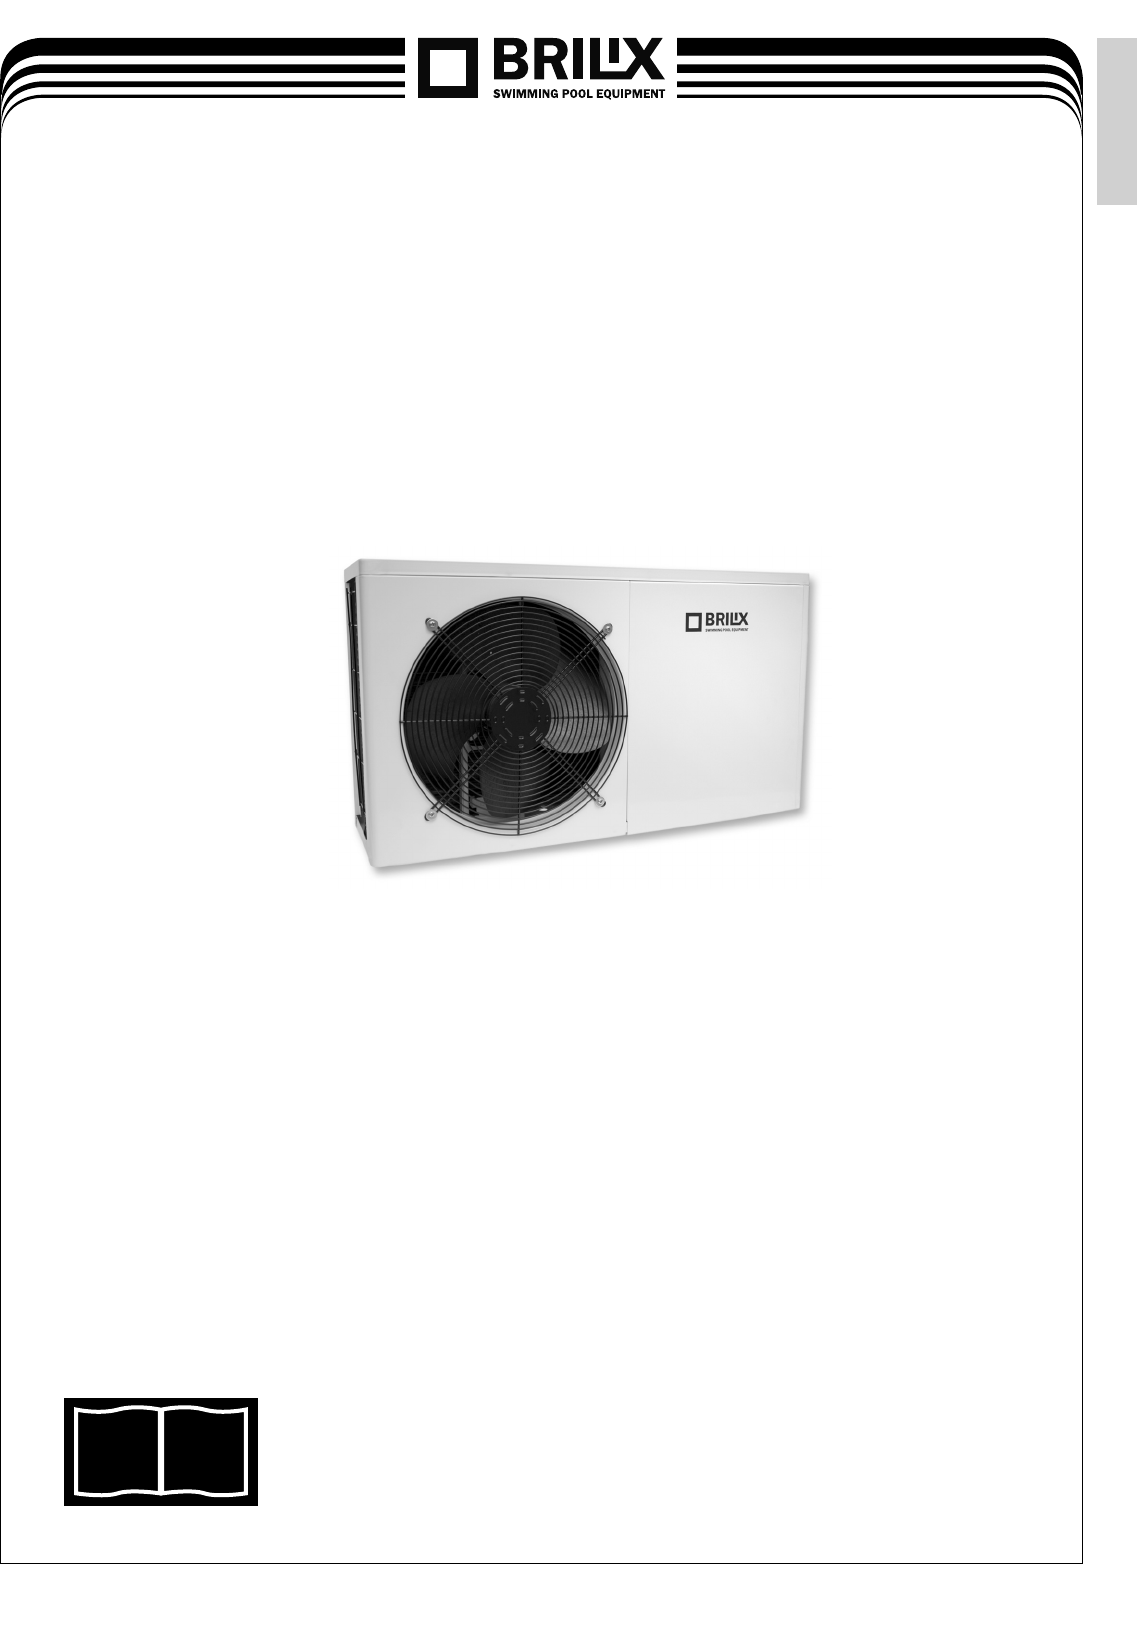
3I. Performance and propertiesHigh performanceOur heat pumps are very effi cient in transferring heat from air to water in the pool. They can provide s
4III. Performance propertiesPerformance properties of a monoblock-type heat pump for swimming poolsCode THP 55 THP 100 THP 120 THP 170Nominal heat out
5IV. DimensionsDimensions of heat pumps (monoblock-type) for swimming poolsV. Preparations for installation5.1 Selection of the installation position•
6 Model with horizontal discharge Model with vertical dischargeWarning:• Do not put your hand or any object into the air outlet or ventilator, as t
7back pressure valvechlorinatorfi ltertrapwater pumpback pressure valve5.2 Installation diagramEN
8VI. Operating the control unitPreliminary steps before start-upA) Inspect the heat pump• Visually check the device or the pipeline within the device
96. 3 How to change the modePress the button to change the mode to automatic, heating or cooling. The appropriate indicator light will be
© 2020, manymanuals.de. Alle Rechte vorbehalten. | 0.859 s |
 Manymanuals.com
 Manymanuals.de
 Manymanuals.fr
 Manymanuals.it
 Manymanuals.pl
 Manymanuals.cz
 Manymanuals.es
 Manymanuals-pt.com
Kommentare zu diesen Handbüchern